
The Definitive Guide to Painting Your Home’s Exterior
 By: Tessa
Depending on the size of your home, an exterior paint project can be an ambitious, yet manageable project. Whether you are wanting help with choosing the right paint colors so you can delegate the task to a contractor, or you need guidance on the entire painting process from swatches to brush, we’ve created this definitive guide to painting your home’s exterior.
Is a swatch test not enough to help you envision a new color? Need an expert’s opinion? At brick&batten, we work with home owners to increase curb appeal. We provide virtual home exterior design services. The process is simple! Send us a high resolution photo of your home, right from your smart phone. Communicate your preferences and goals. Then, sit back while our designers work for you, creating realistic rendering of your home and a clickable shopping list to put the plan in action.
The Definitive Guide to Painting Your Home’s Exterior

Painting Your Home’s Exterior: From Renderings to Swatch Tests
As virtual exterior designers, we know that envisioning how exterior paint, lighting, awnings, doors, windows, etc.will look on your home, is the best way to ensure you are happy with the new look before getting to work on your project. Smart money provides a high return on investment. And your home is likely your largest asset; therefore, you’re greatest investment! That said, partnering with a virtual exterior designer will not only save you the headache of hunching over little paint chips with the glare of fluorescent lights, but it will also give you peace of mind knowing you’re making educated decisions and spending smart money.
However, does this mean you should neglect testing your samples prior to painting your house? No way! No matter how realistic a rendering looks, the paint will appear differently in different environments, on different surfaces, and during different times of the day. For more information about how to test home exterior paint, click here.
No. 1// Educate Yourself
Paint Chips: They lie.
Unfortunately, most paint chips are designed to reflect how the paint will look in a home’s interior. For this reason, keep in mind that most paint samples you test on your home’s exterior will appear lighter than the chip you picked up at the hardware store. So don’t be surprised if the natural light outside creates an undertone you didn’t expect to see or a brightness that lightens the look.

Sneaky Undertones: Yes, it’s a real thing.
Undertones are sneaky and come out at different times of day. I’m also hoping you’re painting your samples on a white background, as other colors reflect and influence how you see the color you’re testing. Either way, when you’re evaluating your paint samples bring a piece of white paper with you. Hold up the white paper next to your sample. Do you see any colors you didn’t expect? Maybe if you’re testing a gray paint color you see a hint of purple or testing white you may see a tinge of yellow. Those are the undertones trying to get your attention… and really important things to take note of. As a purple house every time the sun sets may not be what you’re after when we talk about smart money.
Lighten or Darken: Your paint supplier can do this.
Another tip to remember: You fall in love with a particular gray. You love the slight blue undertone and it looks beautiful in the sunlight; however, in the evening it appears a little darker and not quite as pretty. No problem! You can always ask your paint supplier to lighten the value by 25%-50%. The shade can also be darkened if you’re wanting something a little more moody. This isn’t going to change the undertone much, but it will soften or heighten the appearance of the color you love.

LRV: I’ve heard of it… What the Heck is it?
LRV stands for Light Reflectance Value or Light Reflective Value. To take years of learning and sum it up in 5 sentences, here it goes. LRV refers to how light or how dark a paint color is and how much light a paint color reflects. The darker the paint color- the lower the LRV number. The lighter the paint color- the higher the LRV number. Colors with a higher LRV tend to pick up shades around them when faced with natural light. This can be a problem if you’re not testing in the environment where the paint will be used. We cover more on this topic here!
No. 2// Narrow and Test, and Test, and Test.
Narrow Down Your Favorite.
Think about your goals and what you’re trying to achieve with painting your home’s exterior. Are you looking to lighten it up? Did you see a house you really liked and it has inspired you to make some changes? Has your paint faded and no longer has that intensity it once had? Are you getting ready to sell and realize your house isn’t a color most home buyers are looking for? Whatever the reason, it’s time to narrow down your favorite 3 or 4 shades to begin your testing. If you’ve read any of our brick&batten painting blogs this should give you inspiration and a great place to start! Another tip, if you’re not sure on color, drive by new home construction in your area. If you like the colors, ask the builder what they’re using. I’ve done this a million times and they’re happy to share the information.
Time to Test.
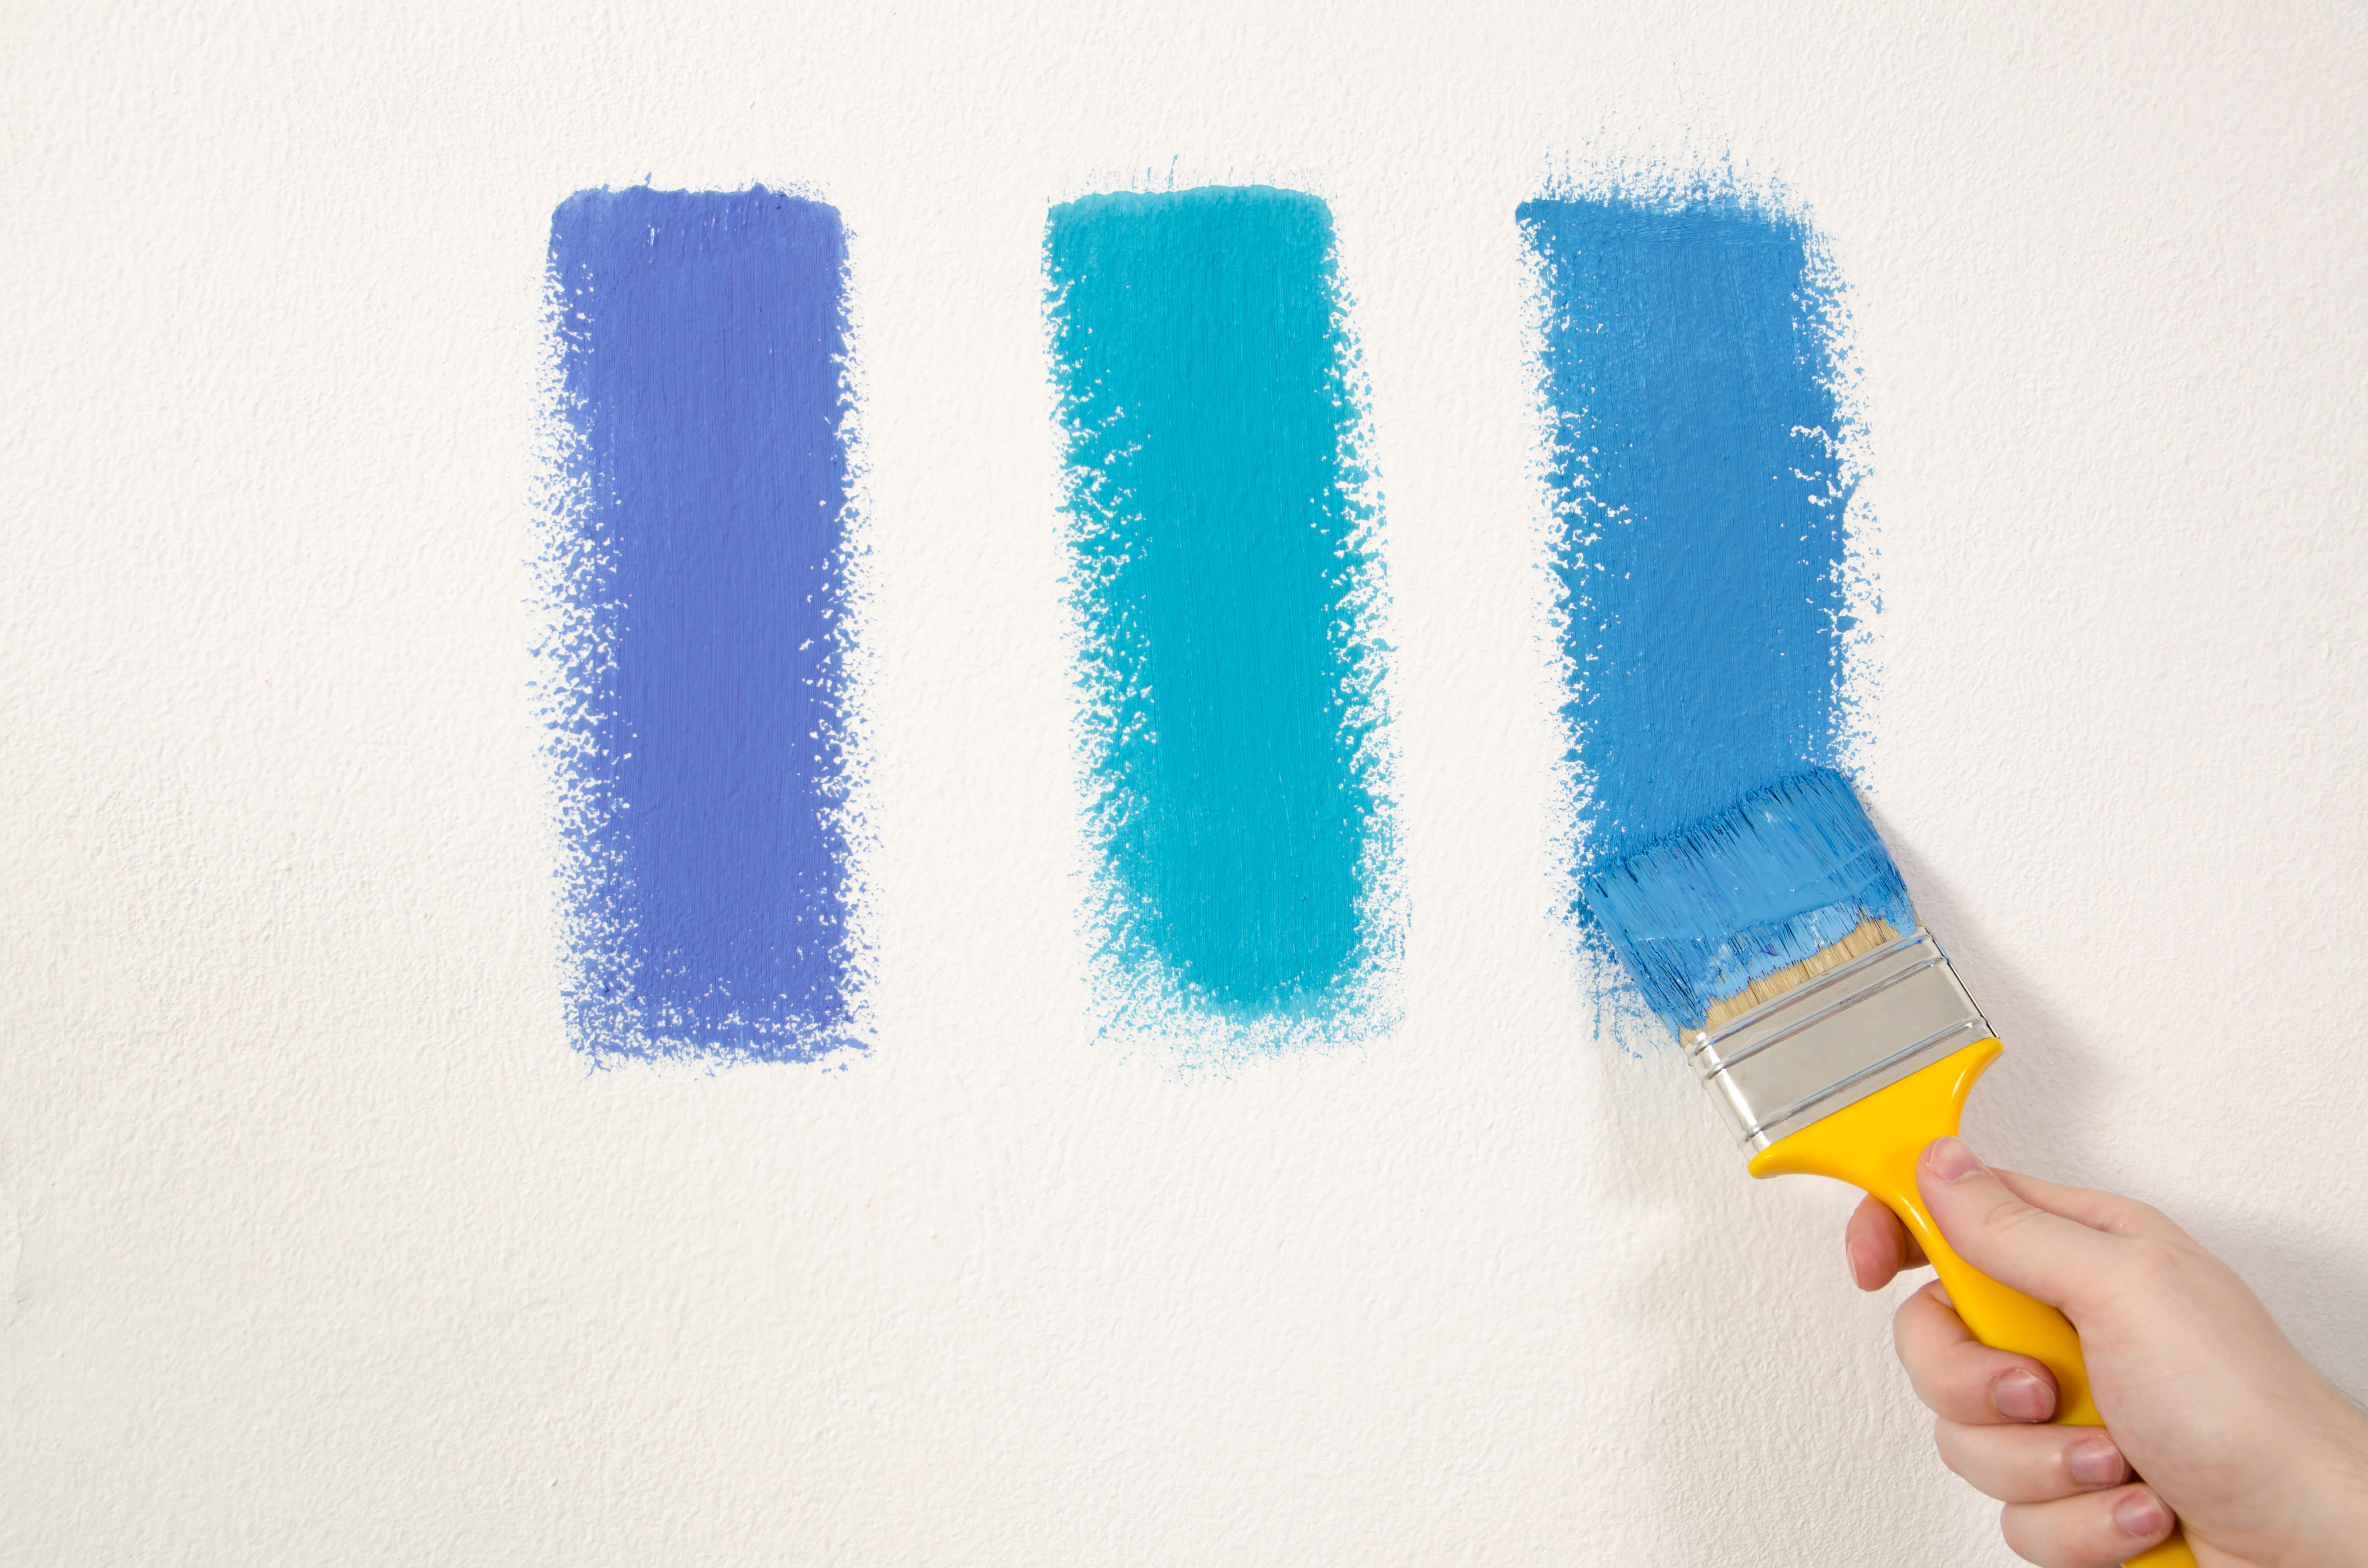
After you’ve settled on which colors are your favorite, it’s time to do the swatch test. As we’ve said, paint appears differently in different environments, so it’s really important you don’t skip this step.
- Paint the area white to have a clean canvas for your colors.
- Paint on the actual surface you will be painting. Stucco and siding absorb and reflect paint differently so your colors may look differently on various surfaces.
- Paint in an area you can observe sunshine and shade during the day.
- Paint a much larger swatch than you think necessary. As a rule of thumb, we suggest a swatch that is about 2 feet tall.
- Now, you sit back, observe, and take note of what you see.
We always recommend sampling and testing paint colors before committing. Factors such as natural lighting, undertones, and your property’s fixed elements will have a significant impact on how a color will appear on your exterior. Our friends at Samplize offer extra-large 9 x 14.75 inch peel-and-stick paint samples of the colors we love for exteriors. Order your ‘Real Paint, No Mess’ samples from Samplize here.
No. 3// Select the Best Finish for the Surface Being Painted.
You’ve selected a beautiful color but there’s a million cans of different sheen staring right at you. The sheen you choose to use depends on the material you’re painting. That said, Romabio has mastered the art of making a flat paint look inviting. If you’re not using Romabio, you will see flat, eggshell, satin, semi-gloss, glossy,… Each sheen has a different job and a slightly different look. Before you begin feeling overwhelmed, check out the chart below for suggestions.

No. 4// Gather Paint Supplies.
Are you painting brick, siding, trim, base coat, stucco, fiber cement, wood, shingle siding, etc? The list may vary a bit but below are the essentials to get the job started successfully.
- Tarps to protect items, landscape, and hardscape you don’t want damaged by paint
- Drop cloths
- Painter’s tape
- A ladder
- Pressure washer
- Brick conditioner (if recommended by the manufacturer)
- Sealant with primer (if recommended by the manufacturer)
- High-quality paint, from brands like Romabio, Benjamin Moore, or Sherwin Williams
- A variety of paint rollers and angled brushes
- Sander
- Caulk, putty, and/ or wood fill
- A caulk gun
- Paint scraper
- Mask
- Other supplies to clean the area being painted, as needed

No. 5// Prep the Area Before You Paint.
If the forecast looks ideal for painting (think fall weather with no rain in the forecast and low humidity), and you have all your supplies on hand, then it’s time to get busy. Keep in mind, fall is a great time to paint your home’s exterior. Learn more here.
Pressure Wash Your Exterior Walls
Start by giving your home a nice cleaning with the pressure washer. Siding, wood, brick, or stucco, every surface needs thoroughly cleaned of all dirt, moss, mold or other repellents that will keep your paint from adhering appropriately to the surface. These things prevent even the highest quality paint from sealing correctly.
Scrape Away Chipped Paint, Patch Holes, and Replace Siding Where Needed
You may also need to scrape or sand away areas of old paint that are chipping, cracking, or bubbling. Be sure to wear a mask during this process. Patch up any holes or cracks. Sand areas that don’t feel smooth or level. This process may take longer than the actual painting; however, it is well worth your time and effort. Clean your home again to brush away dust and debris from your prep work.
Prepare the Area You’re Painting and Not Painting
Once your home is dry, tape off any elements that you don’t plan on painting, like the edges of doors, windows, and trim. Remove small accessories like house numbers, shutters, porch lights, window boxes, and doorbells. Painting around these items will set you up for frustration later. Also, if you end up updating these items in the future, you’ll be left with funny lines because you’ve painted around something that’s no longer there.
Any items or landscape you don’t want damaged should be covered by a tarp or removed from the area. You may need to trim your shrubs away from your home or tie them back. Cloth tarps are easier to handle and move than plastic, so cover these area to keep them protected.
Seal and Prime If Needed for Your Paint & Surface Type
Every paint manufacturer and contractor have different recommendations for what’s best with priming the surface before painting. Different surfaces require different things, so please refer to the experts on this one!

No. 6// It’s Time to Paint.
Painting Tip #1: Safety First! Especially When Using Ladders
We really couldn’t forgive ourselves if we didn’t emphasize safety in this guide to painting your home’s exterior! There’s a reason all quality painting contractors are insured. Climbing on a ladder to reach high areas poses a risk. When you add a concentrated task that requires extending your arms possibly above your head, things can get dangerous quickly. For this reason, we always suggest painting with a partner.
Painting Tip #2: When Painting Your Home’s Exterior, Start at the Top
Just like every spring cleaning expert will tell you, start your workflow from top to bottom. Things will get messy and paint will drip.
Painting Tip #3: Know the Right Number of Coats and Drying Time Between Each Coat
Depending on the coverage you need and the use of primer, if you’re using high quality paint, two coats will probably do the trick. Give the paint ample drying time as suggested by the manufacturer, before adding the second coat. This information comes in handy prior to starting, as you can estimate the number of days needed and check the weather in the area.
Painting Tip #4: Use the Professional Tricks of The Trade
Feathering Technique: When using a roller, use the feathering technique. It involves gradually setting down the roller onto the surface from right to left, rather than all at once. This prevents clear lines from showing up. If working with a brush instead, try to blend each new stroke with the old while the paint is still wet. This will help you avoid overlapping marks.
Paint Sprayer: If you’re short on time, borrowing or renting a paint sprayer may be your best bet. Follow the machine’s instructions carefully and don’t operate on a windy day. When using a paint sprayer it’s helpful to tape off the entire window and door area so the paint doesn’t mist the glass and door you’re trying to protect.You may need to touch up a few areas after it dries completely, but well worth the extra brush strokes because the ease of the sprayer.

Painting your home’s exterior can be challenging and costly. As you may know from other brick&batten blogs, painting your home the wrong color is just as easy (or difficult) as painting it the right color! Educate yourself. Test your selections. Choose the correct sheen. Gather your supplies. Prep and clean the surface being painted and then get to work!
If you need a design partner to help you make these hard choices or maybe just affirmation you’re on the right track, consider working with an exterior designer. Our experts will help you choose the best color and finish to make your painting experience a success. So back away from the paint chips and let brick&batten make you the expert with a new exterior design of your home’s exterior. Whether you want a timeless, classic look or you’re embracing the mid-century modern craze, we have seen and designed it all.
Get started today.
Subscribe for more content like this!